Union Theological Seminary
Classroom Equipment Tutorial
Everything you need to turn on, connect to, use, and shut down the AV equipment in UTS classrooms — plus fast fixes when something is not cooperating.
The four basics
These steps work in every UTS classroom. Room-specific details are on each room page.
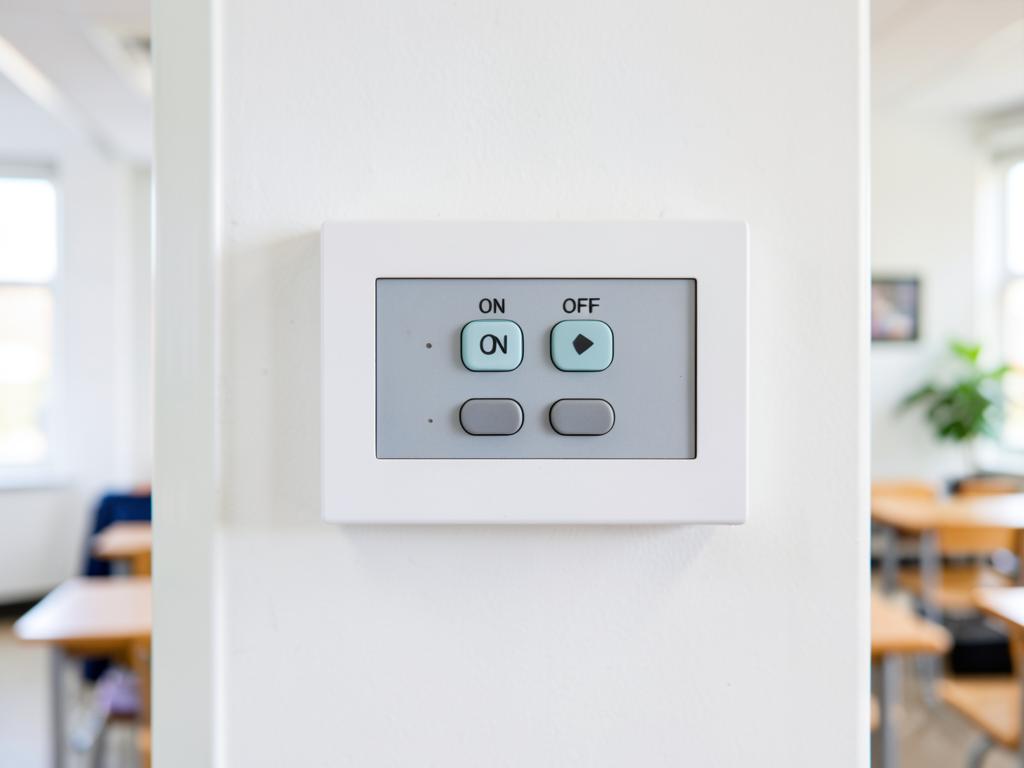
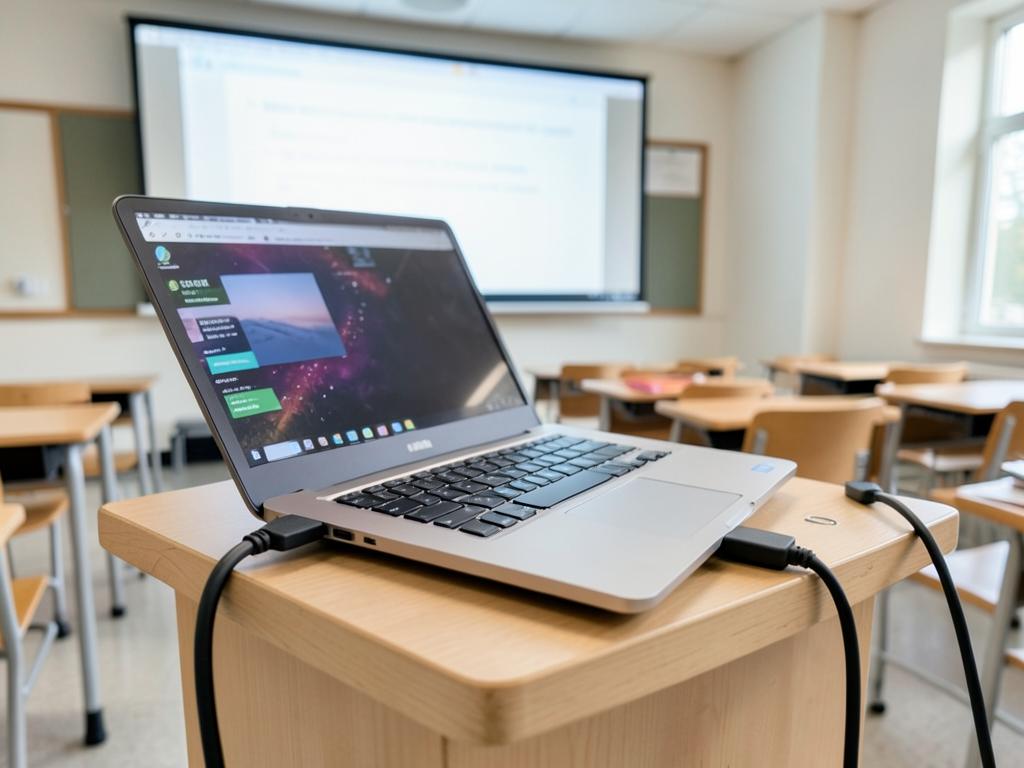
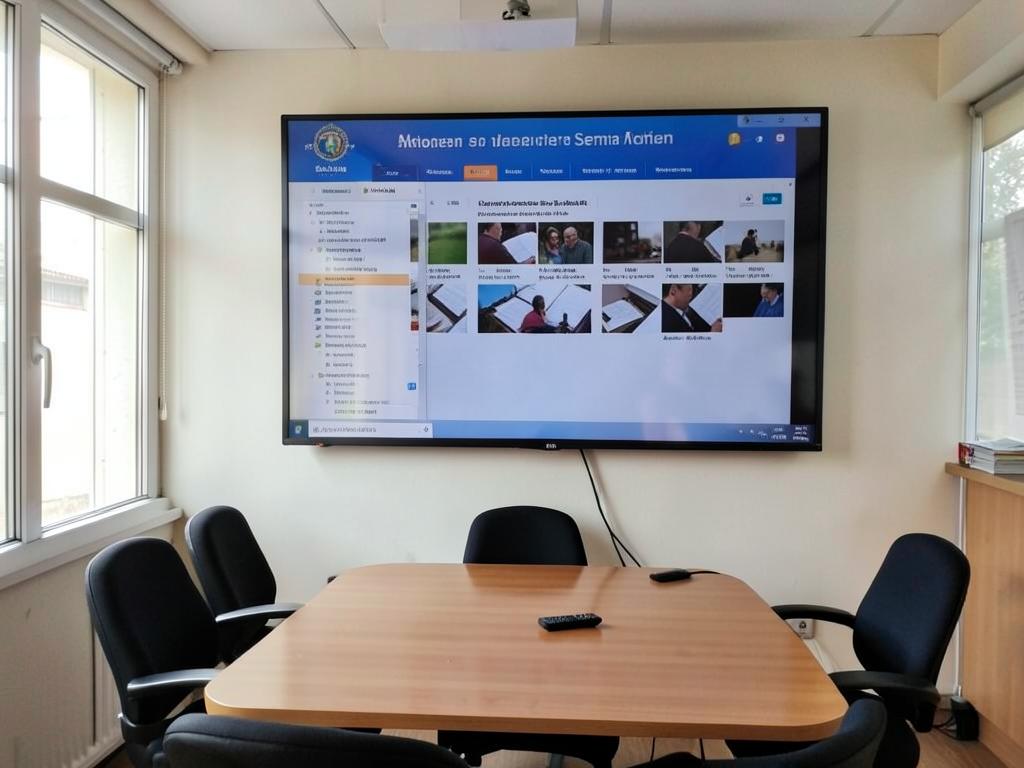
Turn it on
- 1Wake the system: press the POWER or ON button on the wall panel, lectern, or display remote.
- 2Wait 30-60 seconds — projectors and displays need time to warm up.
- 3Lower or confirm the screen is down (manual pull-down in some rooms).
- 4Turn on the lectern PC if the class uses it.
Connect your laptop
- 1Plug the room's HDMI or USB-C cable into your laptop (use the adapter in the podium if needed).
- 2Select the matching source: HDMI, LAPTOP, or PC on the panel or remote.
- 3On Windows press Windows + P and choose Duplicate; on Mac open System Settings > Displays > Mirror.
- 4For hybrid class, plug in the USB cable too and select the room camera and mic in Zoom or Teams.
Use it in class
- 1Set volume with the room control first, then your laptop volume (keep laptop near 75%).
- 2Mute video with the BLANK or A/V MUTE button instead of shutting the projector off.
- 3Mics: turn on, check the battery light, and clip the lapel mic about a hand's width below the chin.
- 4Doc cam: select the DOC CAM source, then use the zoom and light buttons on its base.
Shut it down
- 1Press POWER OFF on the wall panel or remote and confirm if prompted.
- 2Unplug your laptop and coil the cable loosely on the podium — do not take cables with you.
- 3Turn mics off and set them back in the charging base.
- 4Log out of the lectern PC and raise the screen if it is manual.
Classrooms
Administration Building
AD30
Large lecture room with ceiling projector and wall-plate control.
View guide →Administration Building
A36
Seminar room with a wall-mounted flat panel display.
View guide →Main Floor
Stewart Room
Event and meeting space with hybrid conferencing camera.
View guide →Second Floor
Room 205
Standard classroom with projector and podium input panel.
View guide →Second Floor
Room 205A
Small breakout room with a portable display cart.
View guide →Second Floor
Room 207
Classroom with projector, document camera, and lectern PC.
View guide →Third Floor
Room 303
Seminar room with flat panel display and table inputs.
View guide →Third Floor
Room 305
Classroom with projector and wireless screen sharing.
View guide →Third Floor
Room 307
Hybrid-ready classroom with camera and microphone bar.
View guide →Quick troubleshooting
No image on the screen
- • Confirm the display or projector is actually on (look for a power light).
- • Reseat the HDMI/USB-C cable at both ends.
- • Press the correct source button (HDMI 1, LAPTOP, PC).
- • Windows + P > Duplicate, or Mac Displays > Mirror.
No sound
- • Raise the room volume knob or panel volume.
- • On your laptop, set the output device to the HDMI/room display.
- • Check that the media player itself is not muted.
Laptop won't connect (Mac)
- • Use the USB-C to HDMI adapter from the podium drawer.
- • Unplug, wait 10 seconds, plug back in.
- • Restart the laptop if the display still is not detected.
Microphone not working
- • Check the mic power switch and battery indicator.
- • Swap in a charged battery or a spare mic from the base.
- • Make sure the mic channel is not muted on the rack or panel.
Zoom shows the wrong camera or mic
- • Zoom > Settings > Video: choose the room camera.
- • Zoom > Settings > Audio: choose the room mic bar and speakers.
- • Confirm the room USB cable is plugged into your laptop.
Still stuck? Call the Help Desk at (212) 280-1460 or email helpdesk@utsnyc.edu.
Scan to open this guide
Print this code and post it in each classroom. Scanning it opens classroomtech.utsnyc.edu on any phone — no login required.